

Upholstery Repair Kit: What It Fixes and How to Choose
Posted by Meliusly
An upholstery repair kit won't save every sofa, and that's exactly why choosing one well matters. Most kits only reach the cover and seams. They don't rebuild springs, replace crushed foam, or fix a deck that's already sagging. If you can tell which layer has failed, you'll know whether a patch will hold for years or peel within months.
Why Small Upholstery Repairs Keep Furniture in Use
The scale of what's thrown away reframes a small tear. The U.S. Environmental Protection Agency durable goods data estimated that furniture and furnishings entering municipal solid waste reached 12.1 million tons in 2018, compared with 2.2 million tons in 1960, and 80.1% of discarded furniture and furnishings was landfilled that year. A preemptive cover repair keeps foam, wood, metal and fabric out of that stream at the same time.
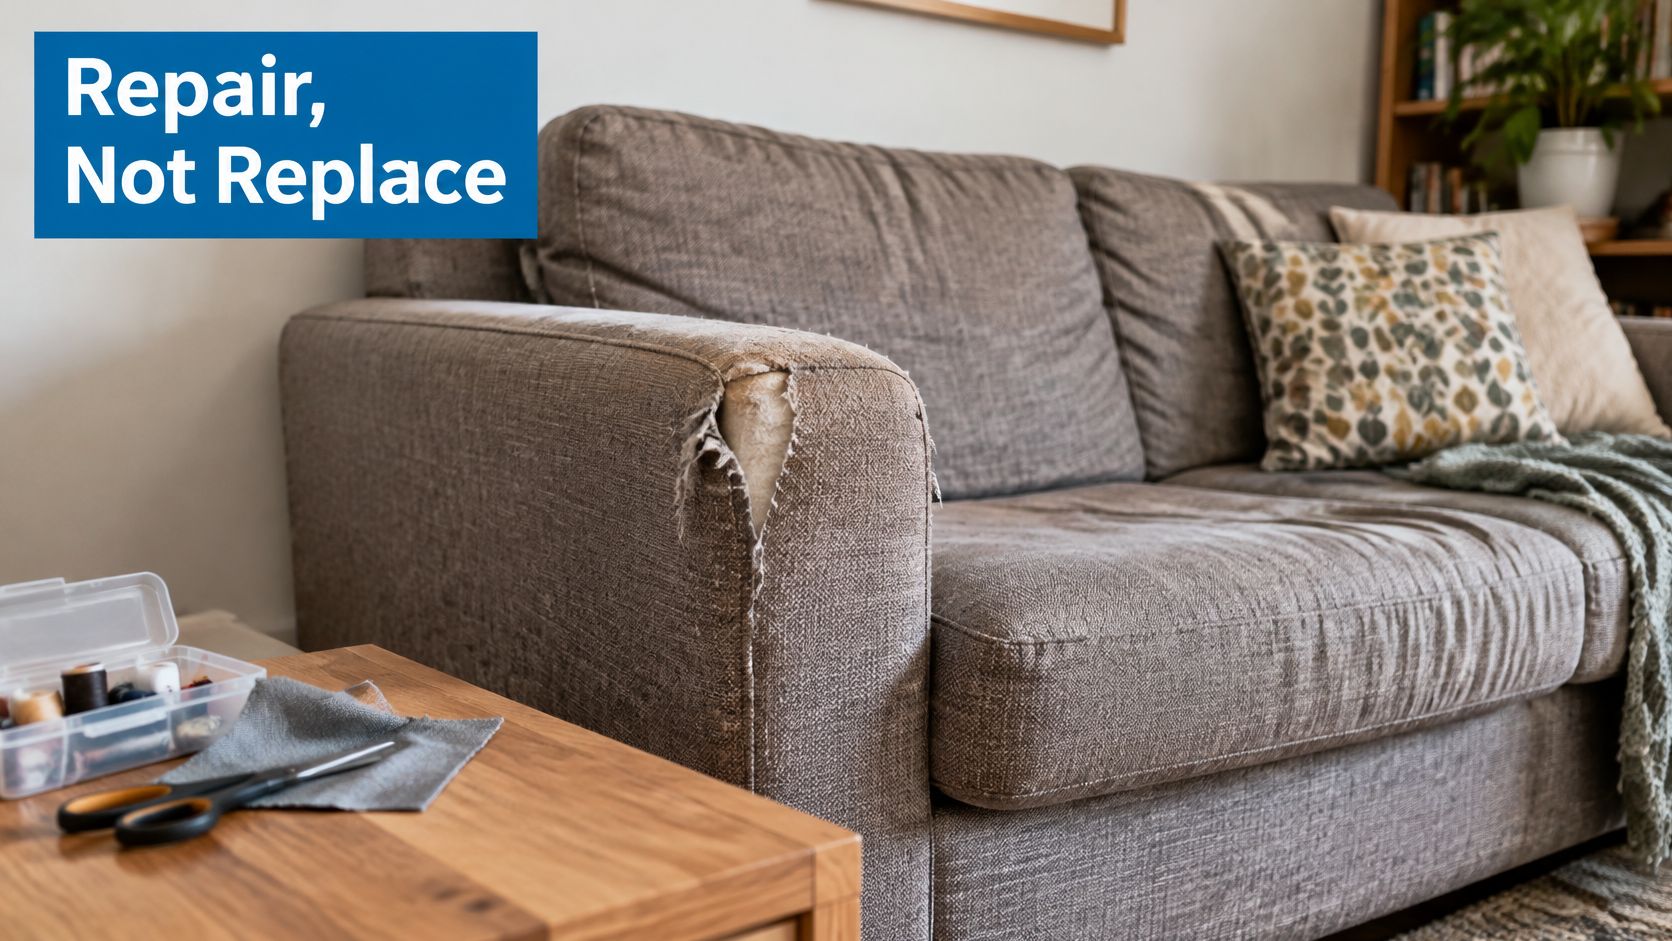
Think of a sofa as four stacked layers. The frame carries everything, the support (springs, webbing or deck) carries the cushions, the filling gives shape and comfort, and the cover holds it all under tension. An upholstery repair kit works mainly on the top layer, and sometimes fastens the cover back to the frame. It can't correct what it can't reach.
Say a family sofa splits along a seat seam but still sits level and firm. That's a weekend job with a curved needle, heavy thread and a backing patch. Replace the sofa instead, and the whole stack goes to disposal because one stitch line failed.
A good repair restores how the layers share load, not just how the surface looks.
Before you buy anything, answer one question about your own piece. Is the damage in the cover, or deeper in the layers beneath it? Press firmly beside the tear. If the cushion springs back and the deck feels flat, a kit fits. If your hand sinks or something shifts, keep reading before you spend.
Which Damage a Repair Kit Fixes and the Method for Each
Kit tools map to specific failures, not to upholstery in general. Needles, patches, adhesive and a staple remover all work at cover level. None of them tension a spring or rebuild a frame joint. Match your damage to a row below, then read its limit column before you commit.
| Damage | Usual cause | Kit method | Limit |
|---|---|---|---|
| Small surface tear, fabric intact | Snags, pet claws, sharp edges | Fabric patch applied from the underside with adhesive | Cannot restore pulled or stressed fabric |
| Split seam | Repeated flexing at the seat edge | Needle and thread with a reinforcing backing | Thread alone fails if the load stays on one stitch line |
| Loose or lifted staples | Old tacks, fabric pulling free | Staple remover and replacement staples | Hidden springs need a professional check |
| Scorch or burn mark | Cigarettes, hot irons | Filler and colour-matched patch | May affect fire-safety layers |
| Exposed foam or filling | Cover torn over a cushion | Cover patch only while filling is intact | Filling replacement is professional work |
| Flattened cushion or sagging deck | Compressed foam or failing support | Cushion insert or support board | A kit cannot repair the support itself |
Reading the Limits That Matter
The first two rows are where kits earn their keep, but only with reinforcement. A surface patch glued on top of a tear sits in the path of every hand and hip. The same patch placed underneath pulls the torn edges together and hides the join. For seams, a backing strip behind your stitches spreads the pull across sound fabric, so the repair outlasts the original stitch line.
Staple work looks simple and mostly is. You lever out lifted staples, stretch the fabric back to its original tension, and drive replacements into solid wood. Stop if the wood is split, the staples keep pulling through, or you can feel a spring end near the surface. At that point the fastener isn't the problem anymore.
The last two rows are the honest boundary. If foam is torn, crumbling or permanently flattened, a cover patch just hides a cushion that no longer supports anyone. I would treat exposed filling as a temporary cover job at best, and a sagging deck as a separate support problem entirely. If your damage sits in the cover, a kit fits. If it sits beneath, you'll need to correct that layer first or the repaired fabric will fail again under the same load.
Matching the Kit to Fabric Type and Seat Load
| Fabric construction | Minimum tear (lb) | Minimum seam tack-tear (lb) | What it means for a repair |
|---|---|---|---|
| Woven | 4 × 4 | 25 × 25 | Reverse-side patch with compatible adhesive; test a hidden area first |
| Knitted | 4 × 4 | 30 × 25 | Stretches under flexing; use flexible backing and thread rather than rigid glue |
| Nonwoven composite | 15 × 15 | 35 × 35 | Tear-resistant, but glue bond and bleed-through must be tested on a concealed spot |
To identify your fabric, look at a frayed edge or the reverse side under a cushion. Woven fabric shows threads crossing at right angles. Knitted fabric shows loops and stretches noticeably when you pull it sideways. Nonwoven material looks matted or bonded, with no clear thread pattern, and often backs coated or vinyl-style covers.
Those minimums come from the ACT performance guidelines for coated indoor upholstery, which specify minimum tear values of 4 × 4 lb for woven/knit substrates and 15 × 15 lb for nonwoven substrates, with minimum tack-tear values of 25 × 25 lb for woven, 30 × 25 lb for knitted and 35 × 35 lb for nonwoven composites. The practical takeaway is simple. A seam kit should include needle, thread or a backing patch that distributes load beyond the damaged stitch line, because adhesive alone transfers stress to the next weak fibres. A rigid cured adhesive also creates a hard spot that concentrates stress and invites edge peeling.
Traffic Level Sets the Abrasion Bar
Construction tells you how fabric fails. Abrasion rating tells you how fast it wears. Under the ACT abrasion guidelines for woven indoor upholstery, low-traffic private upholstery is benchmarked at 15,000 Wyzenbeek double rubs or 20,000 Martindale cycles, while high-traffic public upholstery is benchmarked at 30,000 double rubs or 40,000 Martindale cycles. A family sofa with children and pets belongs in the second group, not the first.
These ratings don't predict how long your repair will last. Seam geometry, fabric age, body oils, cleaning products and patch adhesion all shorten or extend life independently. Use the rating as a floor for patch and thread quality, not as a guarantee. If you're choosing replacement panels rather than repairing, it also pays to find stain-resistant sofa fabrics rated for your traffic level, and to check a general upholstery supplies overview before ordering parts piecemeal.
Your Selection Checklist
- Construction. Woven, knitted or nonwoven, checked at an edge.
- Traffic level. Occasional chair or daily family seat.
- Load path. Flat panel, flexing seam or high-contact seat edge.
- Removable cover. Easier underside patching if the cover unzips.
- Care code. It limits your cleaning and adhesive options.
Pick the kit that answers all five. Colour match comes last.
How to Repair a Torn Seam or Fabric Step by Step
- Read the care code first. The label sits beneath the frame or under a removable cushion. The upholstery cleaning care codes guide sets out that Code W permits water-based cleaning products, Code S permits only water-free, solvent-based cleaners, Code W-S permits either category, and Code X limits care to vacuuming or light brushing. For Code X fabric, avoid wet cleaning entirely and consider professional cleaning before you repair.
- Clean only as the code allows, then let the area dry fully. Dirt and body oil block adhesion. The common slip is grabbing a general cleaner anyway, which can stain or shrink the fabric and stop a patch from bonding.
- Test adhesive on a concealed spot. Check for staining, bleed-through on thin fabric, and a raised or stiff edge after it dries. Coated and textured fabrics sometimes won't bond at all, and it's better to learn that on the back panel than on the seat.
- Trim loose threads and smooth the fabric flat. Frayed ends stop torn edges meeting cleanly and leave a ridge you'll feel every time you sit down. Work the surrounding fabric back to its natural position so you're not stitching tension into the repair. If your piece is a removable chair seat rather than fixed upholstery, the same preparation applies when you recover a chair seat properly.
- Cut a backing patch wider than the tear on every side, with rounded corners. Sharp corners are where patches start lifting. Rounded corners and generous overlap give the adhesive sound fabric to grip.
- Apply the patch from the underside with the smallest effective adhesive layer. Slide it behind the tear, align the edges, and press outward from the centre. Over-gluing is the frequent mistake here. Excess adhesive stiffens the fabric and can bleed through to the face.
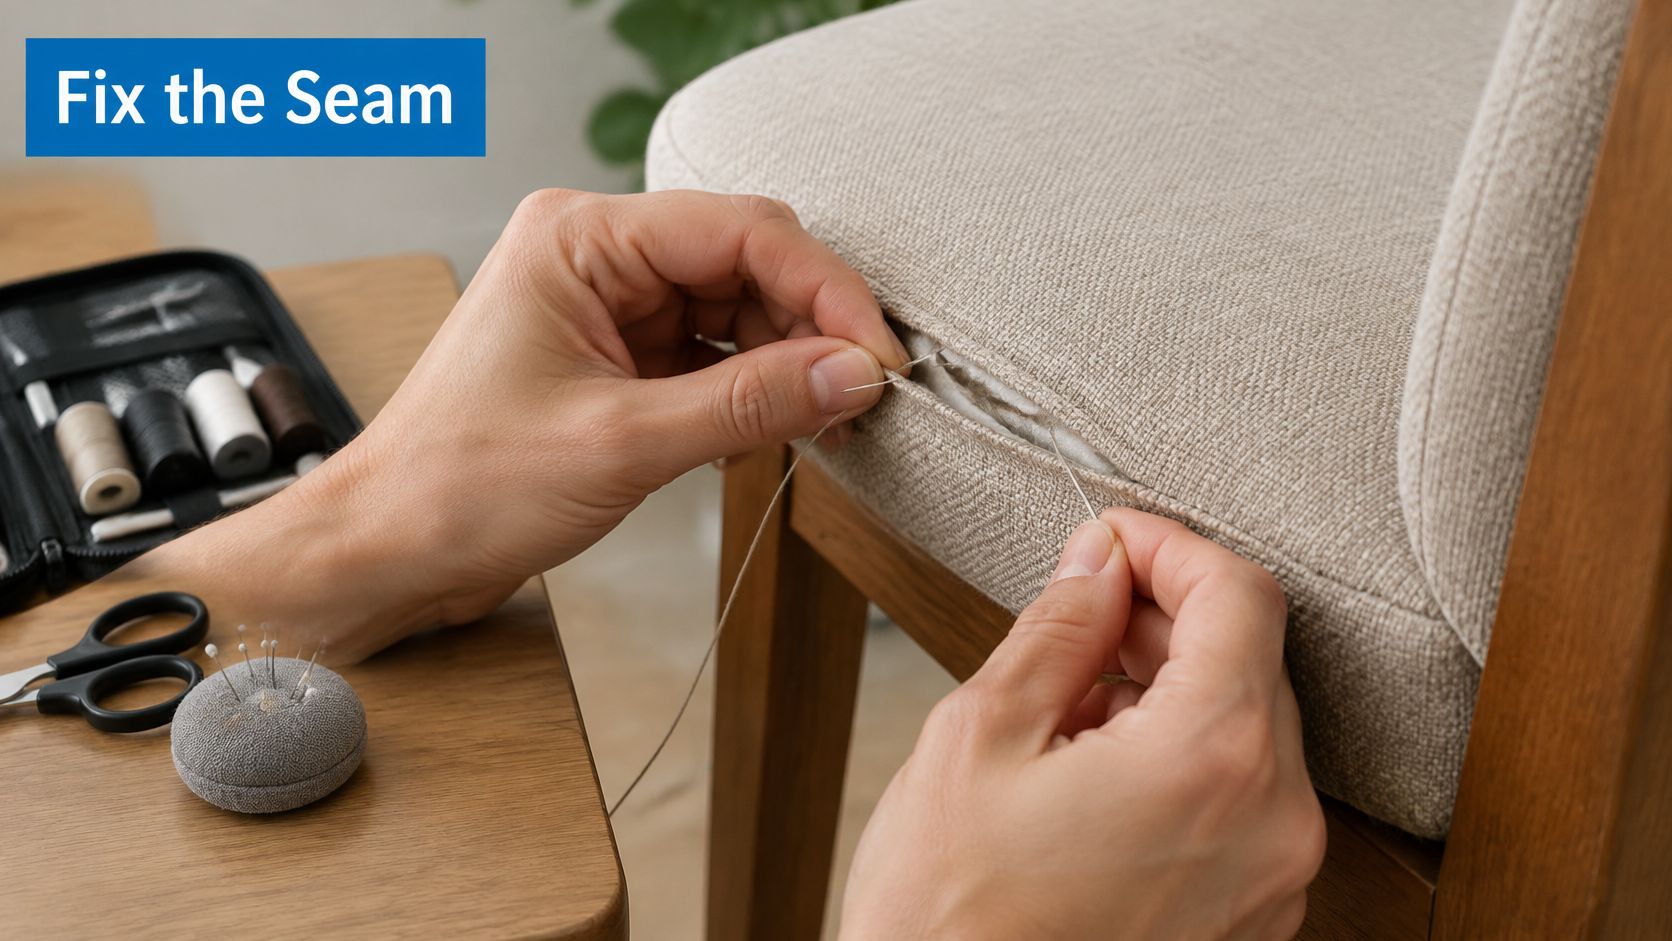
- For a seam, sew through the backing with a curved needle and heavy thread. Start and finish beyond the damaged stitch line, in fabric that still holds. Your stitches anchor to the backing and the sound cloth, so no single point carries the whole load.
- Press the repair under weight and allow the full cure time on the product label. A stack of heavy books works well. Dry to the touch isn't cured, and early sitting can shift a patch that hasn't finished bonding.
- Test flexibility before you call it done. Sit on the cushion, then pull the repaired edge gently. The repair should move with the surrounding fabric.
Finished standard. Flat, no visible ridge, no stiff plate under your hand. A ridged or rigid patch should be redone now, not after it peels.
Why Damage Returns and How to Stop It
A tear is often a symptom, not the disease. Fabric fails where stress concentrates, and a patch that ignores the stress underneath will fail in the same place. Before you repair anything, figure out which force opened your upholstery in the first place.
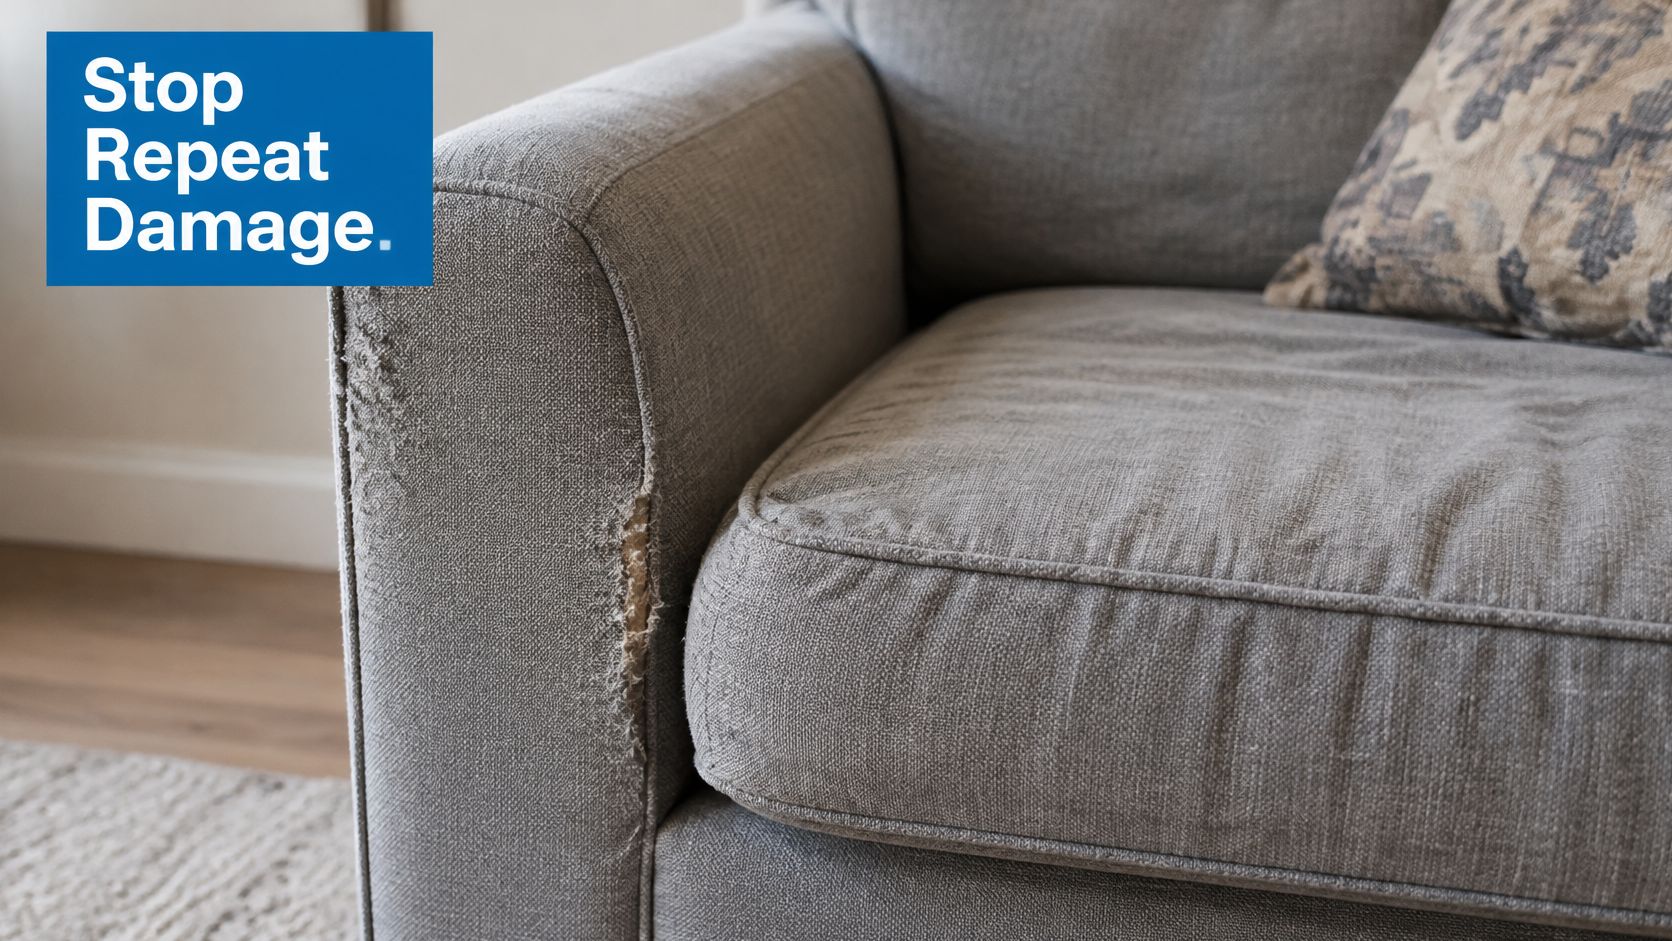
Common root causes include:
- Failed support. Sagging springs or webbing let cushions sink and drag fabric with them.
- Concentrated loading. The same person, same seat edge, every evening.
- Cushion movement. Loose cushions slide and sand the fabric against the deck.
- Abrasion and pet claws. Surface wear thins the yarn until it gives.
- Frame contact. A sharp edge or staple rubs through from behind.
- Sleeper mechanisms. Bars and hinges press into cushions and covers.
Say a sleeper sofa tears where a support bar presses up through the seat. You can patch that spot beautifully and it'll reopen within months, because the bar hasn't moved. The PLATE 2025 repair research found 77% of surveyed European citizens said they wanted to repair products before buying new, but only 64% said they had done so, with time, perceived expense and believing an item unrepairable holding people back. Short-lived repairs feed that belief.
Run This Inspection Before You Open the Kit
- Cushion compression. Press hard. Slow or uneven rebound means tired foam.
- Sagging deck. Remove cushions and press the platform. It should feel flat and even.
- Sharp frame edges. Run your hand behind the tear for staple points and rough wood.
- Springs and webbing. Look underneath for looseness, tilt or broken clips.
- Moisture. Damp filling weakens fabric and adhesive alike.
- High-friction points. Armrests and seat edges show wear first.
A high rub rating doesn't rescue a bad diagnosis, either. It measures surface abrasion, not whether a glued patch survives flexing, pets or pressure on its edges. Reinforcing the surrounding fabric and keeping tension off patch edges matters more than chasing the biggest number.
Now sort your damage carefully. If the inspection comes back clean, you're doing cosmetic restoration and a kit is the right tool. If you found a cause underneath, that's load-bearing correction, and it calls for reinforcement, support adjustment or a professional before any fabric work will last.
When a DIY Kit Is Not Enough
Here's a risk most kit instructions never mention. A patch can make damage disappear while changing your furniture's regulated construction. The U.S. Consumer Product Safety Commission upholstered furniture guidance explains that upholstered furniture manufactured, imported or reupholstered after the applicable rule's effective date must comply with California TB 117-2013 requirements incorporated into 16 CFR Part 1640, with testing covering cover fabric, filling, barrier material and decking. A repair that compromises a barrier, removes a certified label or introduces an incompatible adhesive or fabric isn't just a cosmetic choice.
A patch is not automatically a fire-safety repair. Keep manufacturer labels intact and follow local requirements, especially on furniture used in rentals.
Three Questions That Decide It
Ask these in order. First, is it surface fraying, or is foam and filling exposed? Second, is the job decorative or structural? Third, is the cushion removable, or are you working on fixed upholstery? Removable covers let you patch from the underside and inspect the filling. Fixed upholstery hides both problems and barriers.
Each "deeper" answer moves you toward professional work. If you're unsure where your piece falls, comparing options at a furniture repair shop costs less than a failed repair that has to be stripped out later.
| Situation | DIY kit suitable? | Better route |
|---|---|---|
| Cover fraying, no foam or filling exposed | Yes | Patch from the underside after checking the care code |
| Exposed foam or filling | Temporary only | Professional cushion re-covering or filling replacement |
| Certified label present, barrier torn or label removed | No | Professional repair; keep labels and follow local requirements |
| Sagging deck or broken springs | No | Structural support or frame repair |
| Repeated tear at the same seam on a rental or hospitality seat | Temporary | Heavier-duty fabric, reinforcement and a support fix |
I'll state the contrarian point plainly. The cheapest invisible repair isn't always the best repair. On a rental or hospitality seat, a repair that fails every few months costs more in repeat work and downtime than one proper fix. Match the route to the row your furniture sits in.
Confirm the Fix Before You Buy or Repair
You can finish this checklist today, with no tools. It separates a Saturday kit job from a support problem wearing a fabric disguise.
- Locate the layer. Damage confirmed in the cover only, with sound filling beneath.
- Read the care code. It decides your cleaning method before any adhesive touches fabric.
- Check construction and traffic. Woven, knitted or nonwoven, matched to how hard the seat works.
- Rule out structure. No sagging deck, loose springs or sleeper bar pressing through.
If sagging cushions or unsupported seating caused the damage, correct the cause rather than the symptom. We sell support products for beds, sofas and sleeper sofas, including the Heavy Duty Sofa Cushion Support Board, a couch support for sagging cushions. We also offer a lifetime warranty against defects in materials and workmanship, with a free replacement if a product fails due to a manufacturing defect or structural failure under normal household use.
So make the call now. Cosmetic damage in the cover means you repair it with the matching kit. Damage in the layers beneath means you fix the support first, then repair the cover once, properly.
At Meliusly, we build support products for beds, sofas and sleeper sofas so a sound frame doesn't get discarded over one failed layer. If your inspection pointed to sagging rather than torn fabric, start with the support fix and then make your cover repair on a stable base. Visit Meliusly to find the right support for your piece and keep the furniture you already like in daily use.